Here below is a guide on how to use the Aruba Object Storage service through the
S3 Browser free client interface. In order to use this service you need the following details:
- Account Name - the name you have given to the account when creating it;
- Password - the password you have chosen for the account;
- Region URL - the address of the Region to which the account belongs to, available in the account details page;
- Download the software, start the installation and run the program.
- A window will open asking you to enter various details, to connect your account.

- In the "Account Name" field enter the name you wish to assign to the new account.
In "Storage Type" select "S3 Compatible Storage" from the list.
In the "REST Endpoint" field enter the Region URL found in your Object Storage account page (without the http://).
In the "Access Key ID" field enter the Account Name of the Object Storage account.
In the "Secret Access Key" field enter the Password of the Object Storage account.
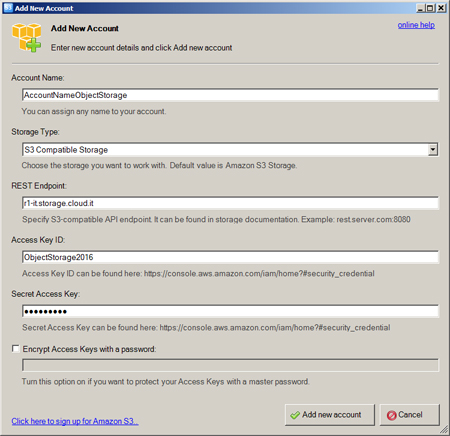
- Confirm by clicking on "Add new account".
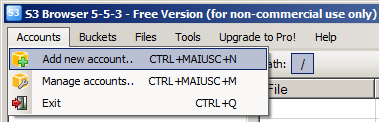
- It's also possible to create an account by using the "Add new account.." button found in the "Accounts" menu.
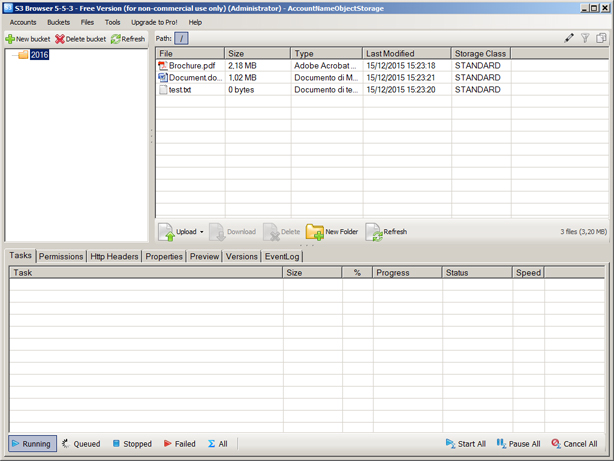
- After creating the account, a page like the following will appear. You will have your "bucket" on the left and on the right the files and folders found in the remote storage space.
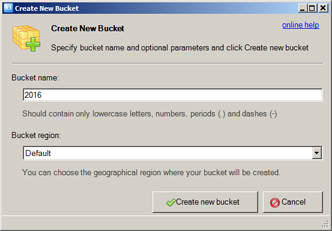
- If you don't have a "bucket" in the storage space, or if you wish to create a new one, you need to click on the "New bucket" button found on the left.
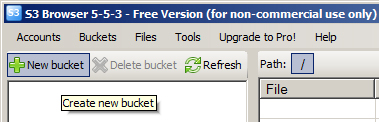
- A "Create New Bucket" window will open like the one below asking you to enter the "Bucket name". After entering the name (see instructions), click on "Create new bucket" to complete the process.
- By using the menu on the right, you can upload, download, delete and create files and folders.
