Aruba Cloud Computing offers a vast choice of Templates for creating your Cloud Server with numerous combinations of Operating Systems and functions. However if you wish to create a Cloud Server with special Operating System and software configurations, which are not included in those offered by Aruba, you can create your own Cloud Server with Personal Template.
It is possible to use this function for example to create a Cloud Server that is identical to a physical or virtual Server, by uploading the image of the disk, or to create a Cloud Server without Operating System
install it later from the Virtual CD-DVD.
For information on what Templates are available see the guide which indicates the types of Templates you get with Aruba Cloud Computing.
Before you create a Cloud Server based on a Personal Template you need to follow the guide for creating Personal Templates.
Cases in which using a Personal Template can be useful:
To create a Cloud Server with a custom template/OS proceed as follows:
- When creating a Cloud Server, and choosing the Template/ Operating System, click on "Import from FTP

- Click on the button "Activate".

This will allow you to choose the Operating System at this stage.
- Then when you are asked to indicate the size of the first disk click on "Connect disk".

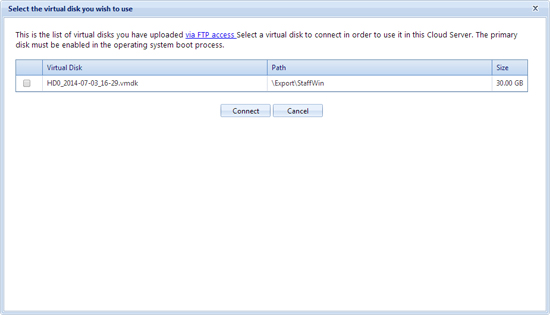
- A window will open listing the disk images present in the FTP area and previously uploaded.

From the list, select the image file you want to upload on the virtual disk making sure it is a boot disk, otherwise once created the Cloud Server will not start up
If you do not have any disk images we recommend you see the article titled "Downloading preconfigured disk images".
After completing the process a Cloud Server will be created based on the selected Personal Template/OS.
We remind you that Cloud Servers created with a personal template will not be assigned with a new IP, you therefore will need to configure it from the
Recovery Console. Should you need a public IP you will need to
purchased one.