To add a load balancer proceed as follows:
- access the Control Panel using your login details,
- select the data center in which you wish to activate the load balancer,

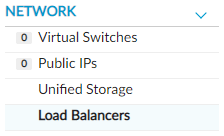
- select the "Balancers" option found under "Network" in the menu on the left.
- You will then reach the "Manage balancers" section,
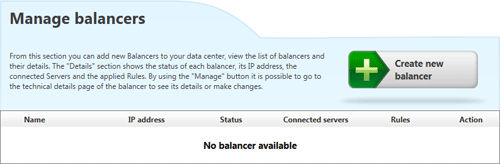
- click on the "Create new balancer" button.

A page like the following will appear,
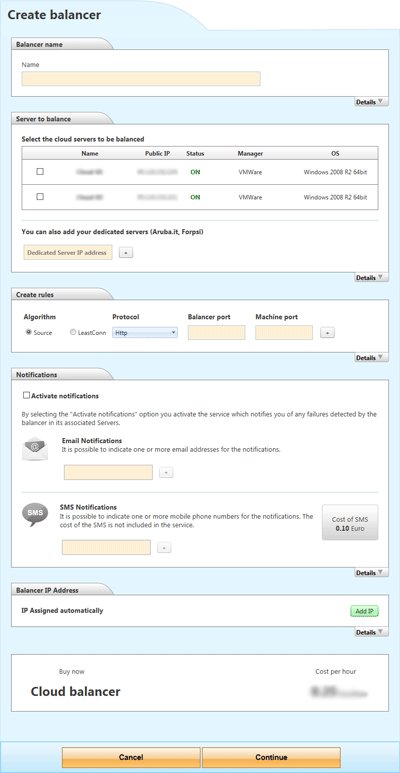
divided in these five sections:
Balancer name
A name needs to be assigned to the load balancer. Within the same network it is not possible to create two load balancers with the same name. It is possible to change the name after the load balancer has been activated by following the
editing process.
Server to balance
This section shows a list of all the Cloud Servers found in the data center (regardless of their status). To connect the load balancer to a Cloud Server simply check the box to the left of the Cloud Server name. If the user has activated one or more Dedicated Servers within the data center, these can be added by indicating their IP address in the relevant field.
Create rules
In order to operate the load balancer needs to be assigned with a rule. It is possible to create multiple
rules.
Notifications
When a load balancer is created it is possible to activate the notification service: should the load balancer detect malfunctions in the Servers it is balancing, the system will send a notification to the provided contact details. The
Email notification service is completely free and can be activated on various email addresses. The
SMS notification service has a cost per SMS: the cost per SMS will therefore be calculated by multiplying the cost of the single SMS by the number of mobile phone numbers that are entered. Both types of notifications can be activated, edited or deleted at a later stage by following the
editing process.
Balancer IP Address
When a load balancer is activated an IP address is automatically assigned to the machine. Should you have other IP addresses (available and not assigned to other services) you can use them by choosing one from the list which will appear by clicking the "Add IP" button.
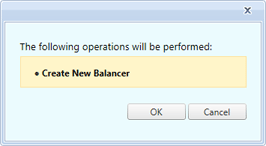
To complete the activation process of a load balancer you need to click on "
Continue"

and then confirm the operation in the modal window that will appear using the "
OK" button.
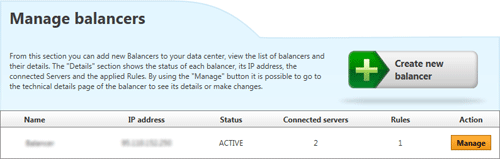
After completing the activation the load balancer will be listed in the "
Manage balancers" page, and can then be managed through the "
Manage" button.