If the Cloud Server Pro has been archived due to lack of credit at the time of renewal, make sure that you have topped up with enough credit to cover the resources and the billing option chosen before restoring it.
To restore an archived Cloud Server Pro, follow these steps:
- sign in to the Control Panel;
- select "COMPUTING" from the menu;
- choose the Data Center;
- select "Archived" from the "CLOUD SERVERS" section in the menu on the left;
- you will be taken to the "Cloud Computing Archived Cloud Servers" section where you will see a list of all the archived Cloud Servers;
- find the Cloud Server Pro that you want to restore and click on the "MANAGE" button next to it;

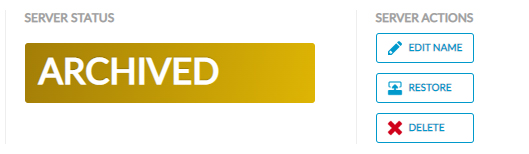
- once you have accessed the technical specifications for the Cloud Server Pro, in the "SERVER ACTIONS" area, click on "RESTORE";
- you will be taken to a page listing the resources (vCPU, RAM and HD) that have been configured;
- if you like, you can edit the resources using the - and + buttons;
- click on "RESTORE CLOUD SERVERS" at the bottom of the page;
- the "Restore Cloud Server" pop-up window will open, in which you will be asked to confirm your choice;
- confirm by clicking on "OK, RESTORE".
Once the process is complete, the Cloud Server Pro will be listed in the "
Manage Cloud Computing" area, available in the "
Managed" section under "
CLOUD SERVERS" in the menu on the left.
Please note that the status of a Cloud Server Pro that has been restored will be "OFF". The customer is responsible for turning the Cloud Server on.
If you are paying on a monthly (30 days) or annual basis for your Cloud Server Pro, and it has been archived because you have run out of credit, the billing option will automatically be switched to hourly.