VPS, PRO and Private Cloud services provide the option to permanently delete content from their machines, using the disk wipe technique in an Aruba Cloud environment. The following procedure is irreversible and should only be used to permanently and completely delete virtual machines. The steps are as follows:
- Delete any Snapshots from the system using the Cloud Admin Control Panel.
- Install a safe disk wipe software that allows the machine to be rebooted in wipe mode.
- Reboot the machine and launch the wipe process. This process can take some time, depending on the type of wipe being performed and the size of the virtual disks connected to the machine.
Step 3 will render data completely inaccessible. Once complete, not even Aruba Cloud staff will be able to recover the data.
- Once the wipe operation has been completed, delete the machine from the Aruba Cloud or vCloud Director Control Panel.
An example of the use of 2 software products to perform the complete disk wipe of a machine is provided below.
The software products used in this example are:
- EasyBCD in a Windows environment, which allows you to enter additional software into the bootloader.
- DBan, which allows you to perform the actual disk wipe.
Steps required to perform the operation:
- Download the EasyBCD software.
- Launch EasyBCD.
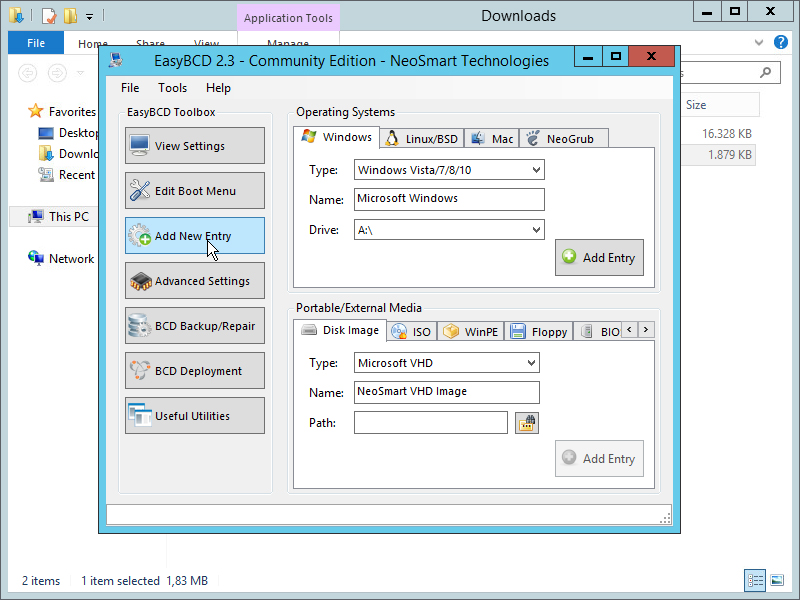
- Select the ISO then proceed to select the iso DBAN, where it has been downloaded.

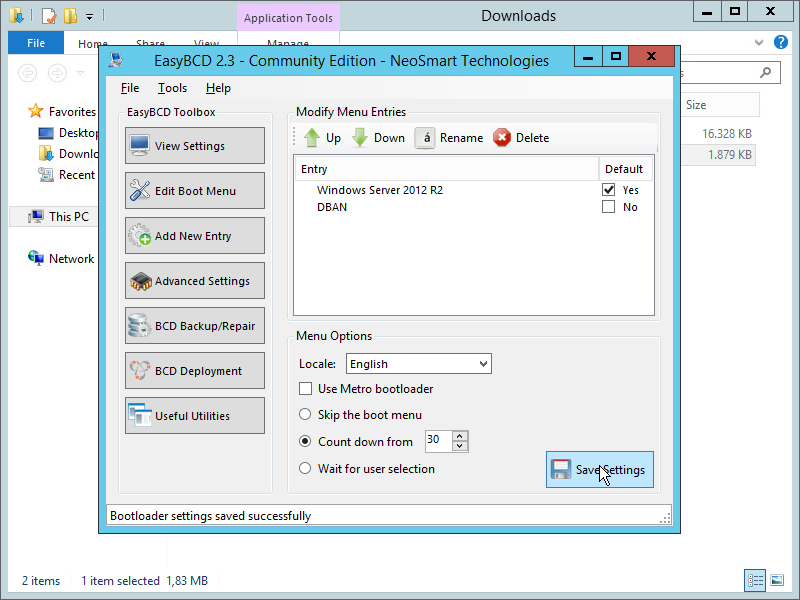
- The software will run an analysis of the disk and install.

- Save, close the program and reboot the machine.
- When rebooting, use the "Recovery Console" to select "DBAN".
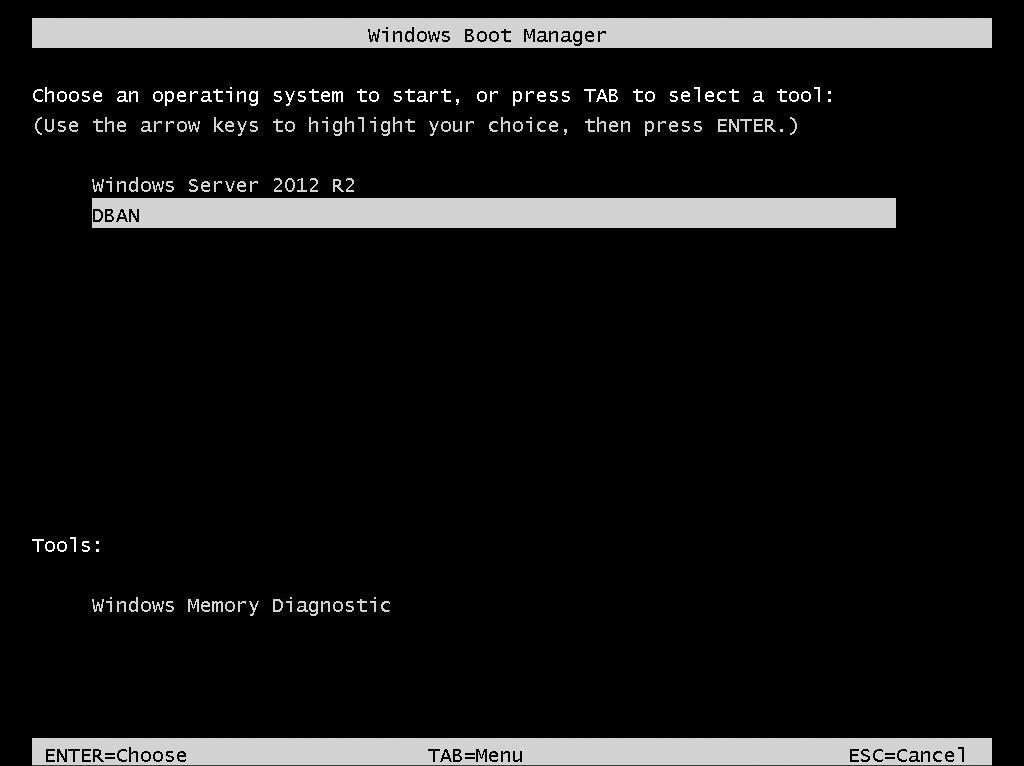
- Press "ENTER" to start DBAN.
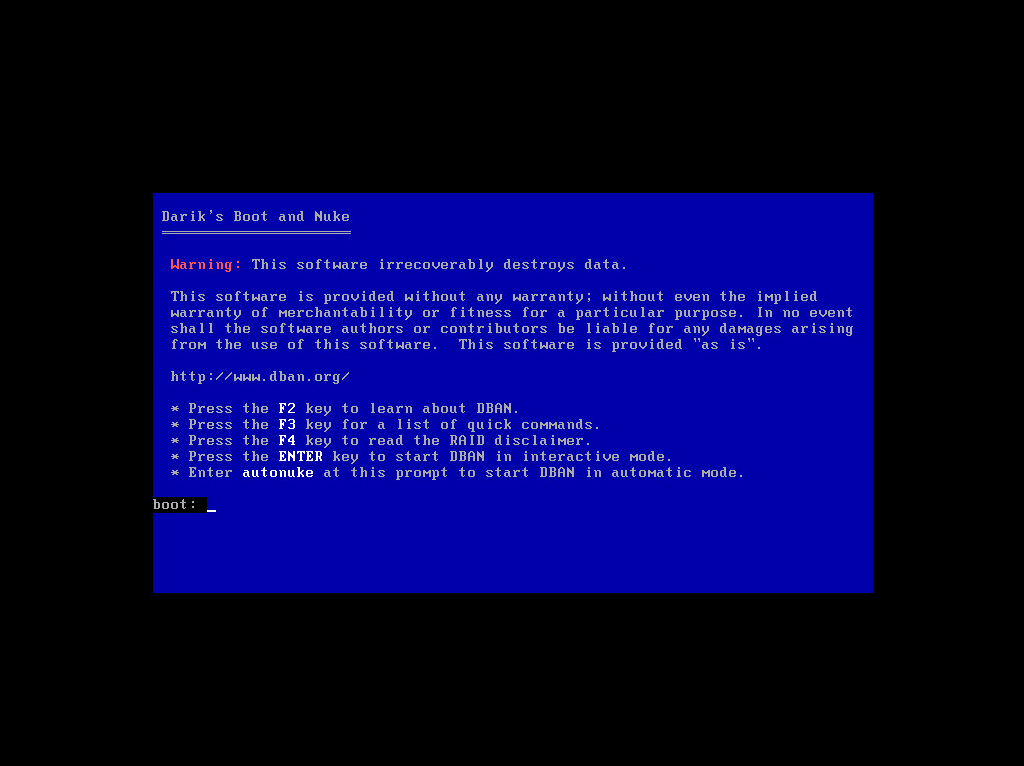
- Proceed using the interactive mode. Once completed, the disk will be permanently deleted.