Required information
To connect to Object Storage using DragonDisk, you need:
- the Object Storage account name;
- the password associated with the Object Storage account;
- the Region URL of the region where the account was created.
Configuring DragonDisk
- Download DragonDisk, install and run the program;
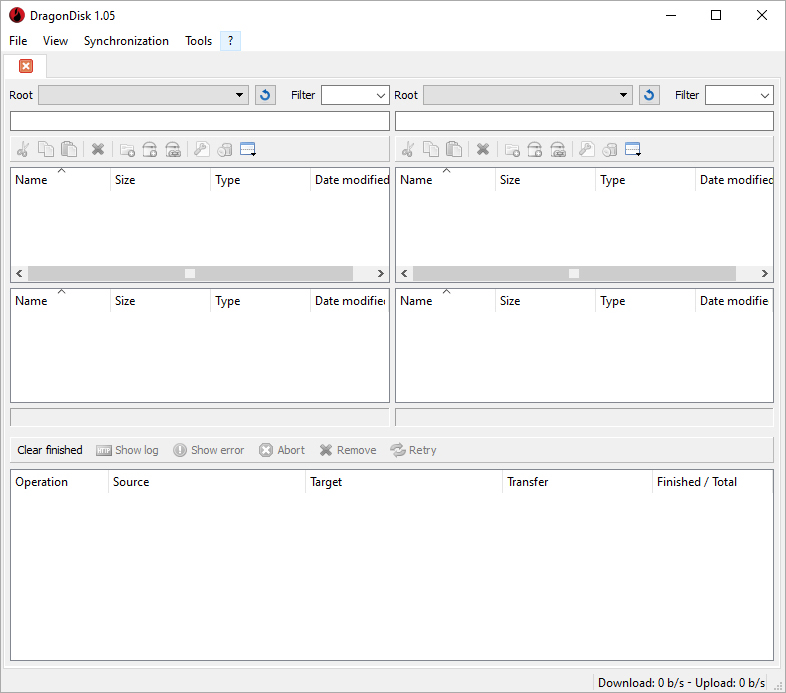
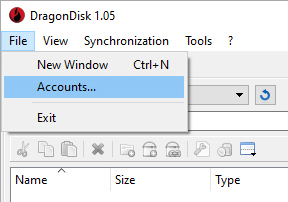
- go to File > Accounts...;
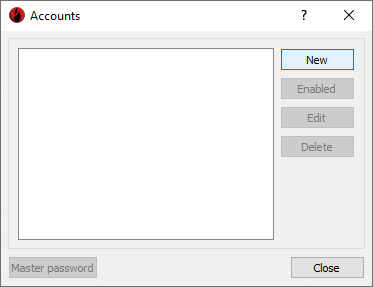
- in the Accounts window, select New;
- configure the connection by entering the required information:
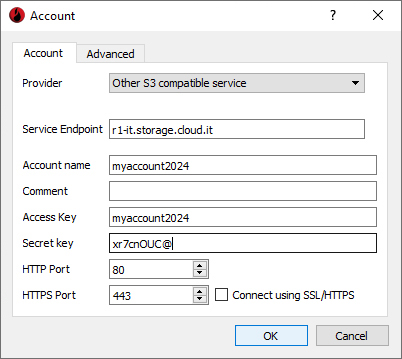
- Provider - select Other S3 compatibile service;
- Service Endpoint - enter the Region URL;
- Account name - enter the name you want to assign to the connection;
- Comment - optional field;
- Access key - enter the Object Storage account name;
- Secret key - enter the Object Storage account password;
- HTTP Port - enter 80;
- HTTPS Port - enter 443.
- select OK;
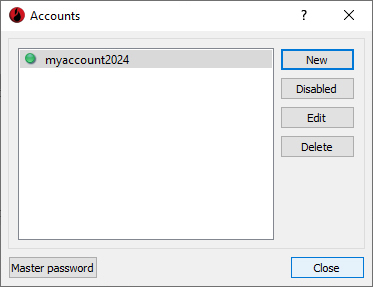
- the configured account is displayed in the Accounts list. From this section, you can change the connection settings later.
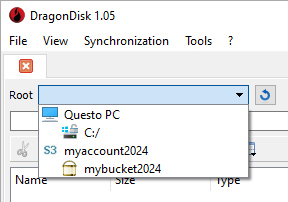
- to access the Object Storage space, select the configured account in one of the two Root lists and This PC in the other.
Creating a bucket
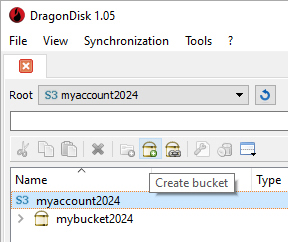
- Select the Object Storage account and select Create bucket;
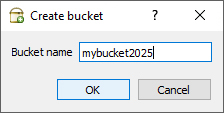
- in the Create bucket window, enter the bucket name;
for information about bucket features and naming rules, see the documentation on bucket features and rules;
- select OK to complete the creation.
Transferring files
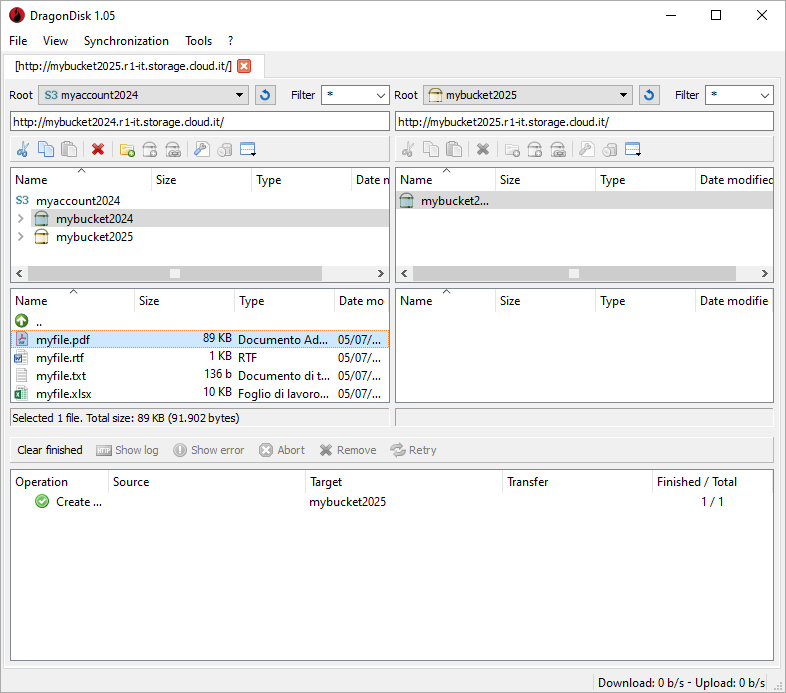
DragonDisk uses two panes that allow you to transfer files between your computer and the Object Storage space or between two configured Object Storage accounts.
To transfer files, you can:
- select them and use Copy and Paste;
- drag them directly from one pane to the other.

If you have configured multiple Object Storage accounts, you can transfer files directly from one Object Storage space to another without first downloading them to your computer.
Configuring permissions
By default, files uploaded using DragonDisk are private.
To make a file publicly accessible, you must change its permissions.
To make a file public:
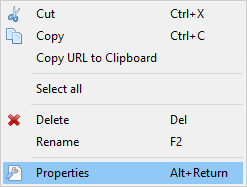
- locate the file in the Object Storage space, right-click it and select Properties;
- in the Object properties window, select the Security tab;
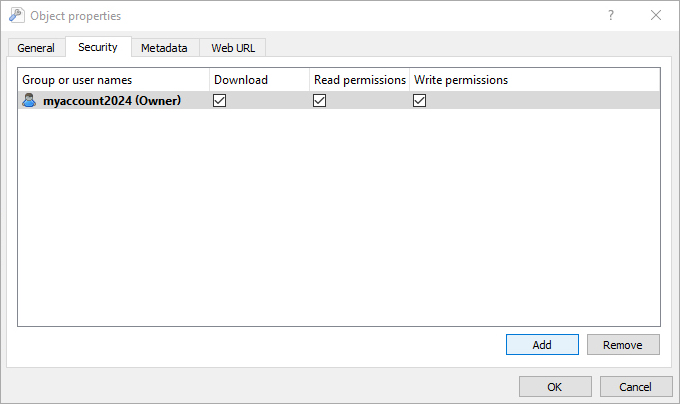
- select Add;
- in the Add user window, select All Users;
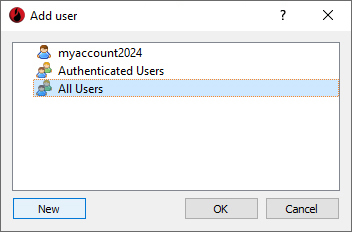
- for the All Users profile, select the Download permission to make the file public;
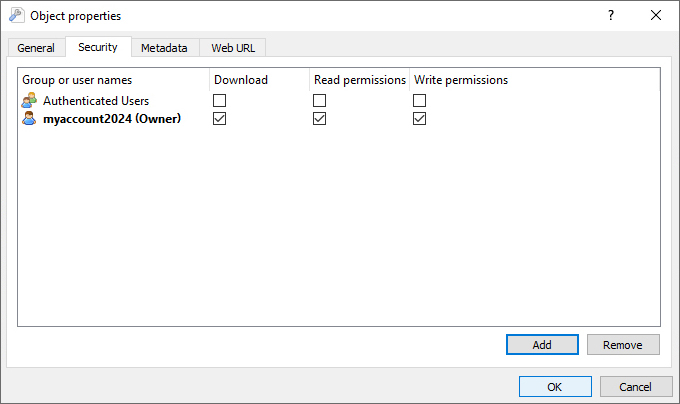
- to make the file private again, follow the same procedure and deselect the Download permission for the All Users profile.
For information about accessing a public file via a browser, see the documentation on
accessing uploaded files via the web.