Users can create one or more Backup Accounts in order to use the Cloud Backup service. To create a Backup Account, go to the
Control Panel of the Cloud Backup service using your login details and then proceed as follows:
- select the "CLOUD Backup" option found in the menu at the top,
- click on "Backup Account" under "Services" in the left menu,

- you will reach the "Manage Cloud Backup Account" section,
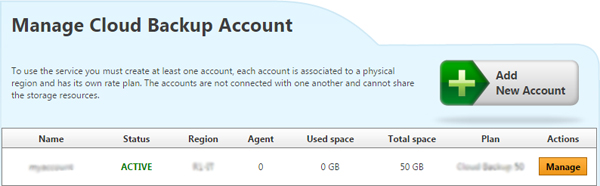
- click the "Add New Account" button,

- a page like the one below will open,
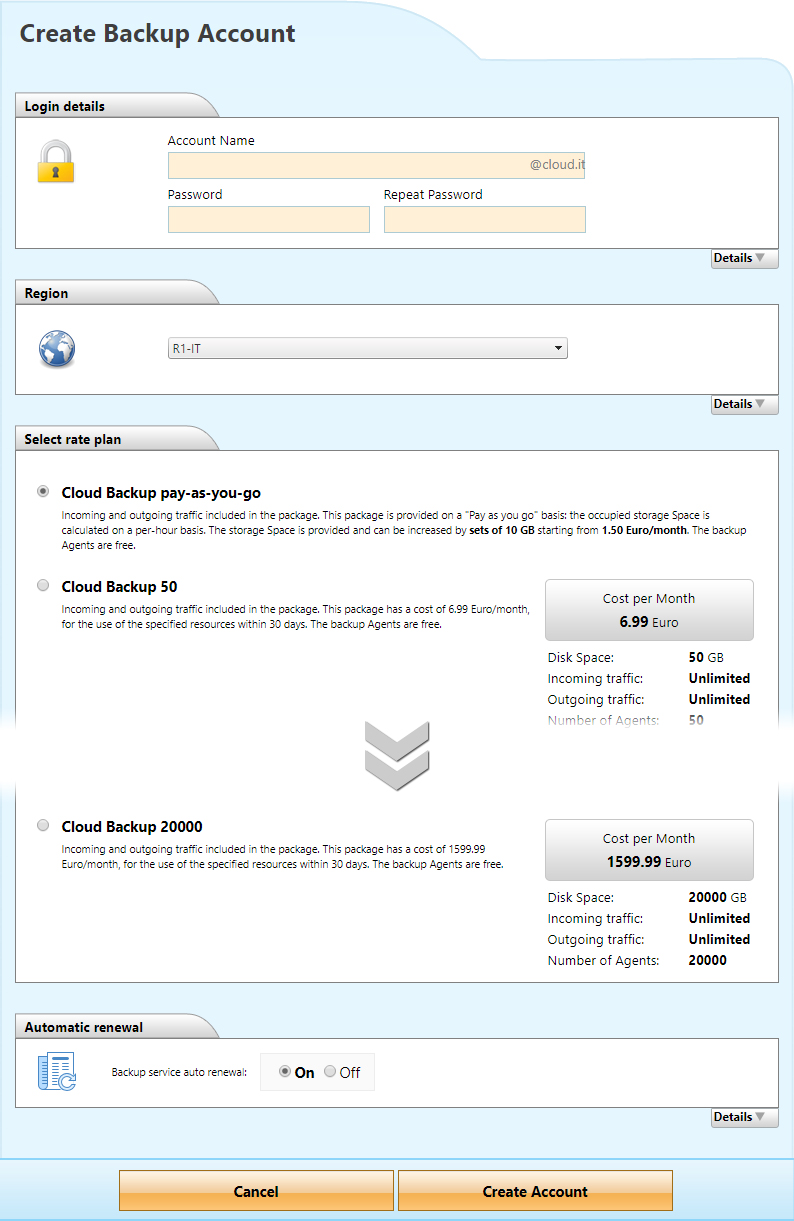
- here you will need to select the:
- Account details
Each Backup Account must have an "Account Name" and "Password". Access to the Cloud Backup service is only available through the use of these details.
- Region
For each Backup Account you create you will need to indicate the "Region", the geographic area in which the information of the Cloud Backup service will be stored/saved. This parameter cannot be changed once the Backup Account has been created.
- Rate plan
When you create a Backup Account you need to indicate the rate plan you wish to use to calculate the costs of the Cloud Backup service. There are two types of rate plans: usage-based rate or package rate. You can change the rate plan at any time.
After filling in all the details you need to click on the "
Create Account" button,

and then confirm using the "
OK" button in the modal window that appears.
Upon completing the process you will reach a page like the one below,

reminding you that the first step to use the service is to
install the backup Agent on the Servers you wish to connect.
Once created, the Backup Account will be listed in the "
Backup Account" section from which it can be managed.