Bare Metal & VPS > Dedicated servers > Accessing a Windows dedicated server

05 Accessing a Windows dedicated server

First access to a Windows dedicated server

When you first access the dedicated server, the system requires you to change the password for security reasons. You need to temporarily disable the Credential Security Support Provider (CredSSP) in the RDP client. This disables Network Level Authentication, allowing you to change the password via RDP.
Once you have changed the password, you can re-enable the Credential Security Support Provider (CredSSP) for subsequent access. If you do not follow this procedure, the system will display an error message.
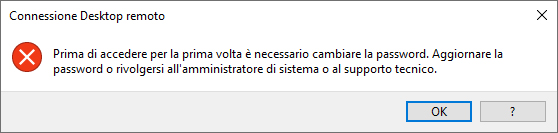


To avoid this error, follow these steps:
  • click the Start button on your computer, type rdp and click Remote Desktop Connection;
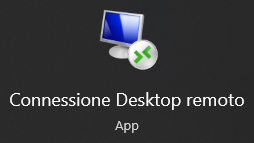
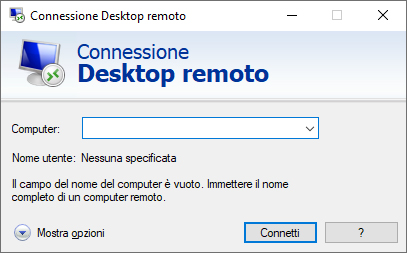
  • the connection interface will open. Click Show Options;

  • in the window that opens, enter the information received by email from Aruba Cloud:
    • Computer: the primary IP address of the dedicated server;
    • User name: the username (in the format admin123456);
  • select Allow me to save credentials and click Save As...;

  • save the .rdp file, naming it, for example, FirstAccess.rdp;
     
    You can name the file as you wish, but do not use Default.rdp, as a file with this name is already saved in the Documents folder on your computer.
  • once you have saved the file, open it with Notepad and add a new line at the end containing the following text:
    enablecredsspsupport: i: 0

  • save the .rdp file and double-click it to start the remote connection;
  • in the The identity of the remote computer cannot be verified. Do you want to connect anyway? window, click Connect;

  • in the next window, click Yes;

  • the Windows login screen for the remote computer will be displayed;
  • enter the username (in the format admin123456) and the corresponding password (sent by Aruba in two separate emails when the dedicated server was activated), then click the arrow to the right of the password;

  • the system will notify you that you need to change your password. Click OK;

  • enter and confirm a new password, different from the one sent by Aruba via email, and click the arrow to the right of the password;

  • you have successfully accessed the dedicated server;

  • delete the FirstAccess.rdp file.

Subsequent access to a Windows dedicated server

  • click the Start button on your computer, type rdp and click Remote Desktop Connection;

  • the Remote Desktop Connection interface will open. Under Computer, enter the primary IP address of the dedicated server (received by email from Aruba Cloud) and click Connect;
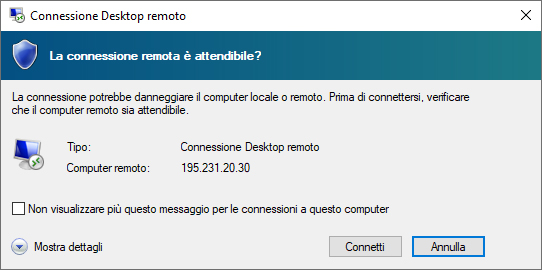
  • on the next screen, Do you trust this remote connection?, click Connect to confirm (if you no longer want to see this security message, select Don't ask me again for connections to this computer);
  • the Enter your credentials window will open;
  • enter the username (in the format admin12345, received by email from Aruba Cloud) and the password you changed after your first access;
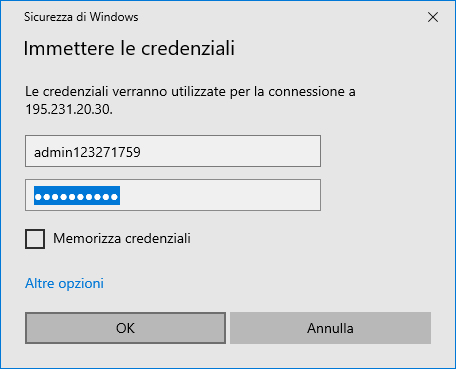
  • click OK to confirm.