Using a Plesk license
A Plesk license purchased through Aruba Cloud can only be used on a single server (instance/IP) within the Aruba Cloud infrastructure. You cannot use it on multiple servers or on external infrastructures.
For more information, see the
official Plesk legal terms.
What to do if MySQL is already installed on the Cloud Server
If you want to install Plesk on a Cloud Server where MySQL is already installed, we recommend uninstalling MySQL first and then proceeding with the Plesk installation.
Official Plesk documentation
Downloading and running Plesk Installer on Windows
- Access the Cloud Server via RDP;
- download Plesk Installer;
- run Plesk Installer: the installer graphical interface will open in the browser.
Downloading and running Plesk Installer on Linux
- Download the installer script:
wget https://autoinstall.plesk.com/plesk-installer
- enable execution mode for the downloaded installer script:
chmod +x ./plesk-installer
- make sure port 8447 is open: this port is used to access the installer GUI;
- run the script with the
--web-interface option to start the interactive installer:
./plesk-installer --web-interface
- the latest stable version of Plesk will be installed using the graphical interface;
- the installer graphical interface will open in the browser.
Installing Plesk
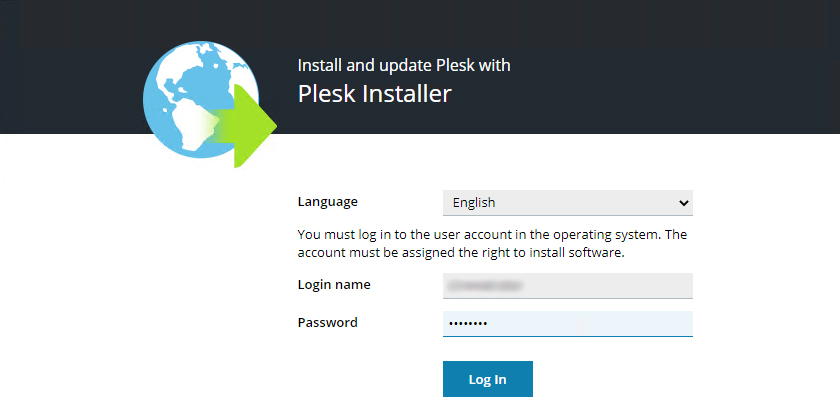
- Select your preferred language from the dropdown menu (English is selected by default), enter the Cloud Server login credentials and select Log In;
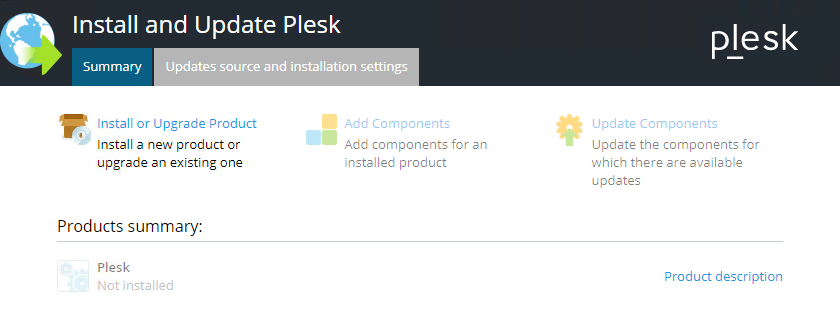
- on the Install and Update Plesk page, select Install or Upgrade Product;
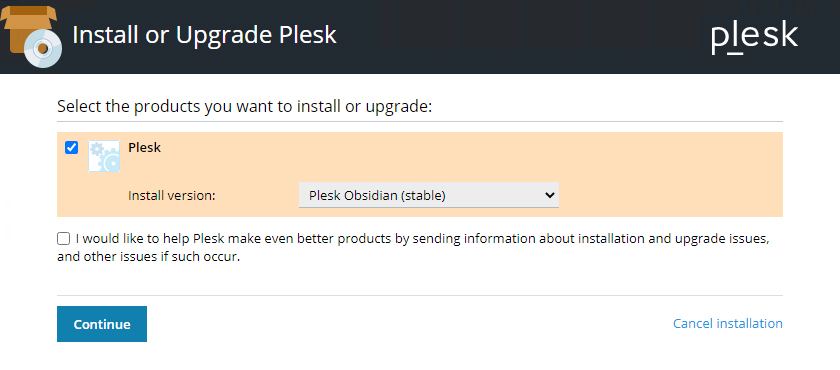
- select Plesk and then Continue;
- choose one of the three available installation types:
- Recommended: includes the components required for web hosting;
- Full: includes all components;
- Custom: lets you choose which components to install;
- in this guide, we have selected Recommended. Select Continue;
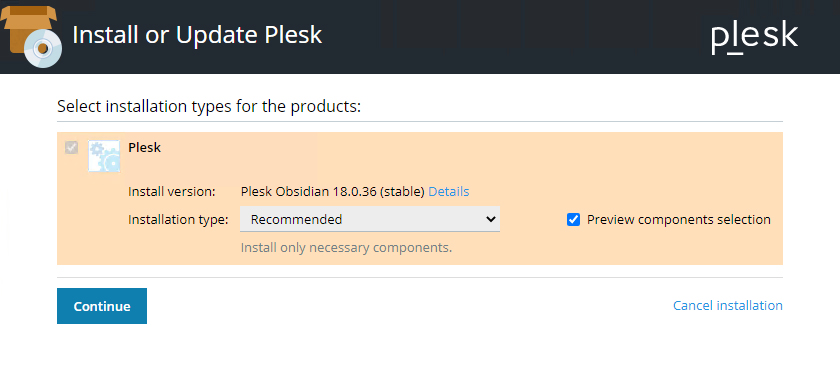
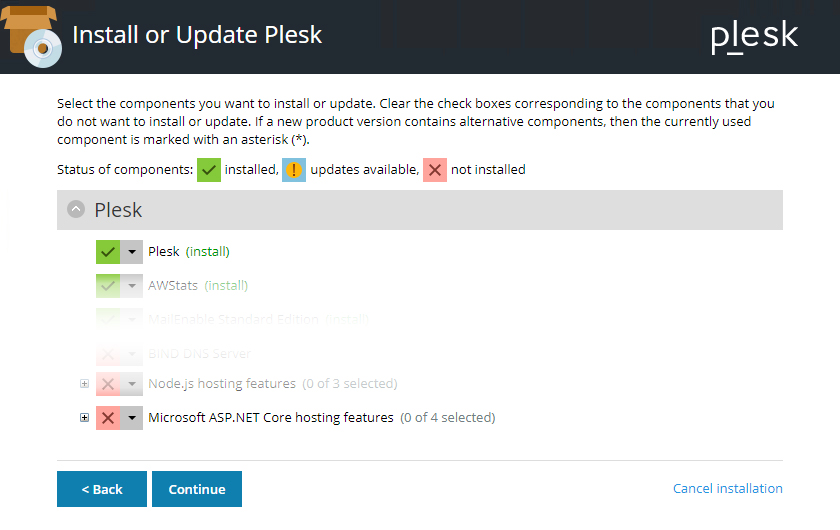
- enable Preview components selection to view the list of components. From here, you can add or remove components and then select Continue;
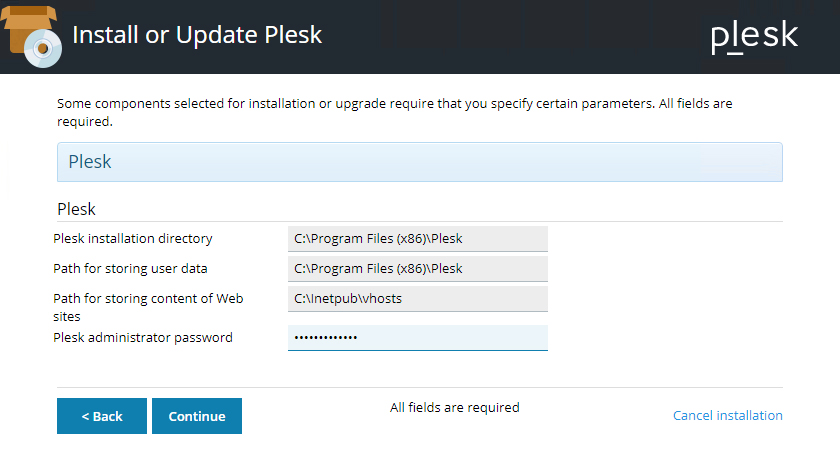
- set a password for the Plesk administrator;
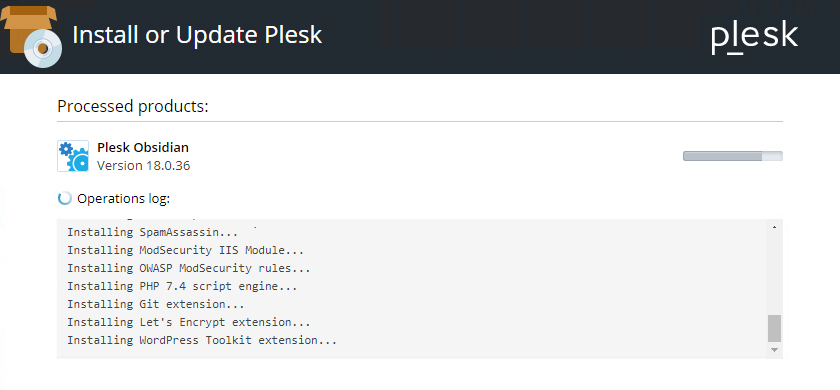
- select Continue to start the Plesk installation. The installation takes an average of 30 to 90 minutes, depending on the selected components, the Cloud Server resources and the connection speed;
- when the installation is complete, a confirmation screen similar to the following will be displayed;
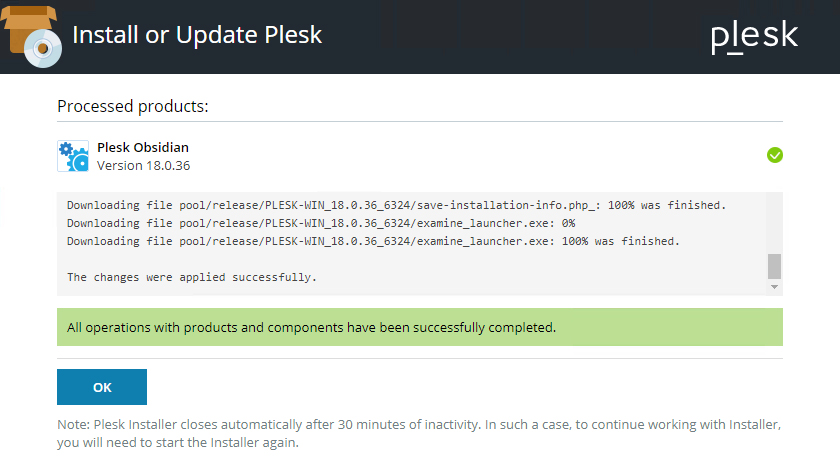
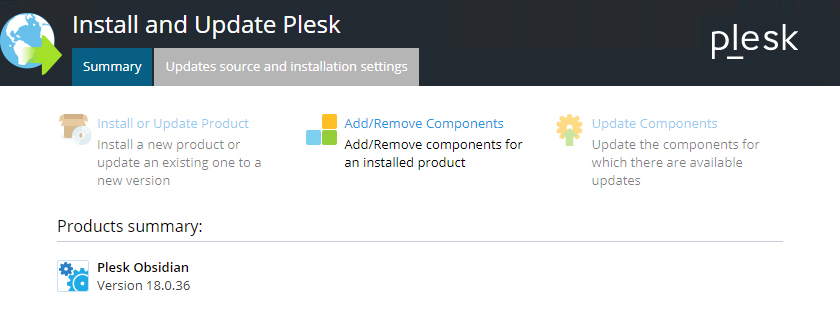
- select OK to return to Summary;
- to change the installed components, select Add/Remove Components.