ATTENTION: we remind you that in the Server, on which the Backup Agent is being installed, there's a Firewall which blocks the OUTBOUND traffic, this needs to allow outbound traffic on the following ports: 25 - 80 - 443 - 8087 - 8086 - 2546 - 807.
The default configurations of the Windows system don't need any changes on the ports.
Before you proceed, be sure to have the following details which are available in the Backup Account technical details page:
- the "Evault URL" address [r1-it1.backup.cloud.it]
- the "Account name"
- the "Password" of the Backup Account
Here below is the process for installing the Backup Agent on a Server:
Windows 32bit/64bit
NB: we remind you that if you are installing the Backup Agent on a
Windows Cloud Server you have just created, you may need to reboot the machine before you proceed with the installation.
Access the Server, download the Backup Agent, run the executable file and proceed with the installation. The following windows will open:
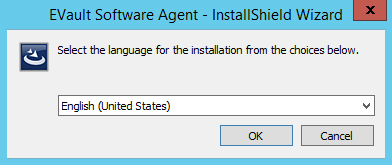
- Select one of the available languages.
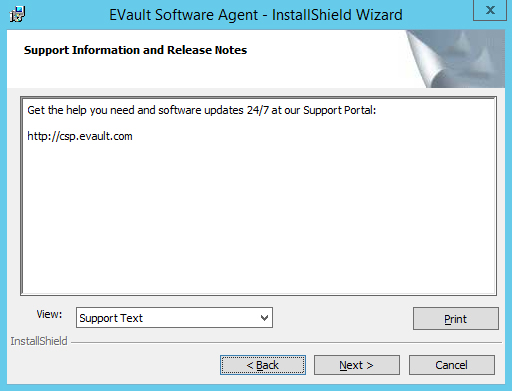
- Wait for the loading process to complete.

- Use the "Next >" button to continue.
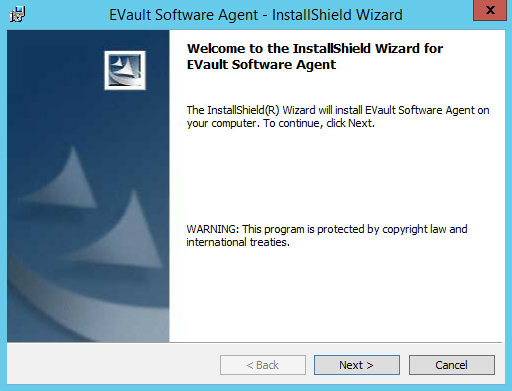
- Confirm by clicking the "Next >" button.
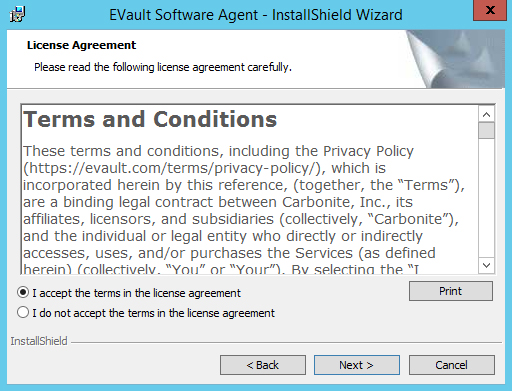
- Accept the terms and conditions of the licence, and confirm by clicking the "Next >" button.
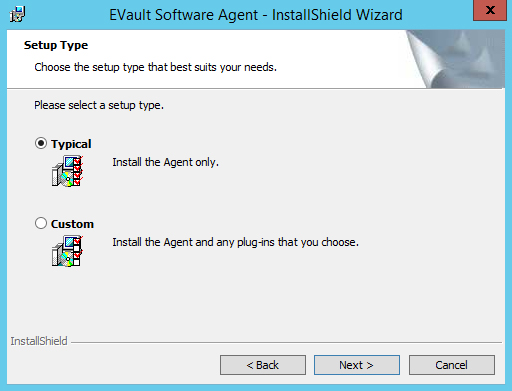
- Select the "Typical" option, and click on "Next >" to proceed.
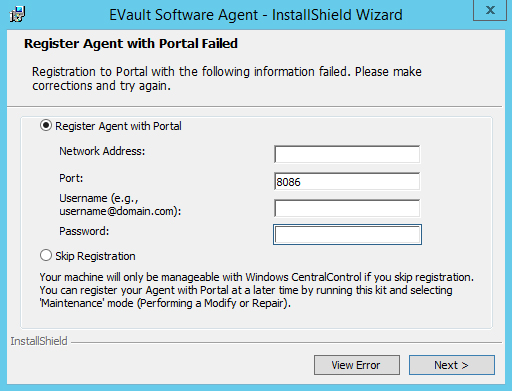
- Select "Register Agent with Web CentralControl". Enter the following details in the provided fields:
"Network Address" : the "Evault URL" address found in the Backup Account technical details.
"Port" : leave 8086.
"Username" : the "Account name" found in the Backup Account technical details.
"Password" : the "Password" you assigned to the Backup Account.
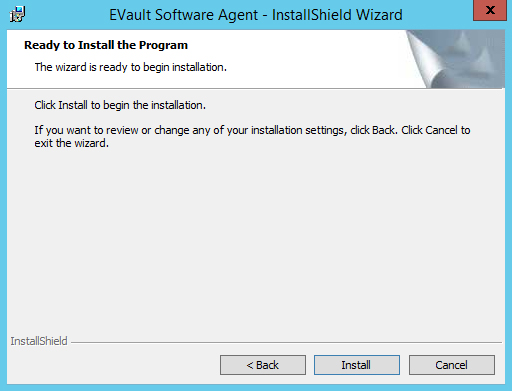
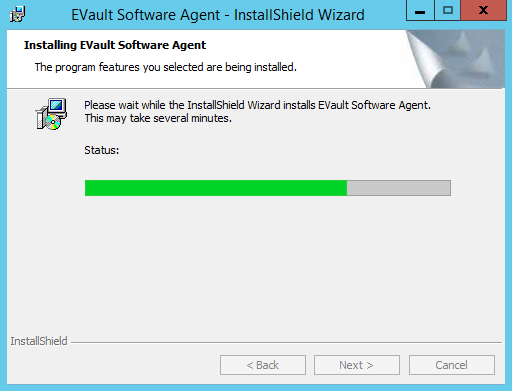
- Click on "Install" to continue.
- Wait for the installation process to complete.
-
ATTENTION: When you install either of these Backup Agents:
- Agent 7-24-3120a - Windows
- Agent 7-24-3120 - Windows x64
a window like the following will appear:
enter the following details:
URL for Web CentralControl Login:
"URL Evault"
(e.g.:
https://admin.r1-it1.backup.cloud.it)
URL for Web CentralControl Help Files:
"URL Evault"+"/BackupConsole/Documentation/en-US/Main/Web_CentralControl.htm"
(e.g.:
https://admin.r1-it1.backup.cloud.it/BackupConsole/Documentation/en-US/Main/Web_CentralControl.htm)
- Confirm the installation by clicking on "Finish".

After completing the installation process of the Backup Agent you can proceed to
configure the Backup. We advise you to reboot the Server.
Linux 32bit/64bit
Access (SSH) the Server and proceed as follows:
- Download the Backup Agent:
for 64bit systems
https://agents.backup.cloud.it/agents/Agent-Linux-x64-8.83.8124.tar.gz
- Decompress the downloaded file:
for 64bit systems
tar -zxf Agent-Linux-x64-8.83.8124.tar.gz
- Open the folder:
for 64bit systems
cd Agent-Linux-x64-8.83.8124
- Run the installation:
sh install.sh
- You will be asked where you wish to install the Backup Agent:
Installation directory? [/opt/BUAgent]
press the enter key
/opt/BUAgent doesn't exist. Create it? ([Y]/n)
type in the letter y and press the enter key
- •Select the language:
Select language: [en-US]
press the enter key
- You will be asked to register:
Do you wish to register to a Web-based Agent Console server? ([Y]/n)
type in the letter y and press the enter key
What is the Web-based Agent Console address? ("-" to cancel)
type in the "Vault URL" address and press the enter key
What is the Web-based Agent Console connection port? [8086] ("-" to cancel)
press the enter key
What is your Web-based Agent Console username? ("-" to cancel)
type in the "Account name" and press the enter key
What is your Web-based Agent Console password? ("-" to cancel)
type in the "Password" and press the enter key
After completing the installation process of the Backup Agent you can proceed to
configure the Backup. We advise you to reboot the Server.