In this section you will find the following processes related to the
Profiles:
Creating a Profile
To create a
Profile proceed as follows:
-
log in the "Partner Control Panel"
-
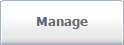
go to the "Manage" section
-
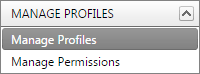
select the "Manage Profiles" option under "MANAGE PROFILES" from the left menu
-
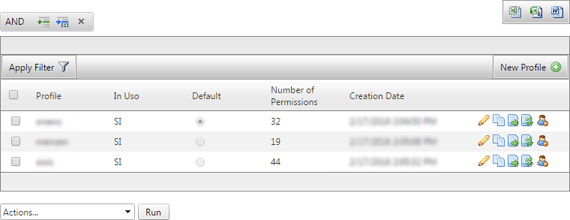
a table like the following will open
-
click on "New Profile" found in the right corner of the table,

-
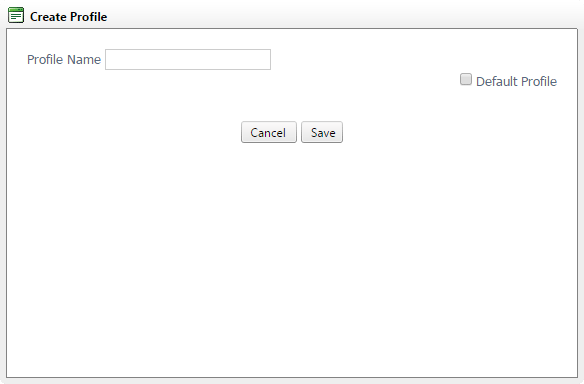
a "Create Profile" window will open asking you to provide the name you wish to give to the Profile. This will be used to better identify the Profile when assigning Permissions. You will also find a check box which allows you to (if checked) make the Profile you are creating a Default Profile.
-
then click on "Save" and wait for the confirmation,

-
click on the "Close" button to complete the creation process.
After completing the process the new Profile will be displayed in the list of Profiles.
For each Profile the list shows the following titles:
-
Profile - the name assigned to the Profile
-
In Use - indicates whether the profile is associated to at least one User
-
Number of Permissions - indicates the number of Permissions that are assigned to the Profile
-
Creation Date - the date in which the Profile was created
There are also 6 icons for which we provide a legend:
 |
allows you to change the name assigned to the Profile |
 |
allows you to clone the Profile |
 |
allows you to associate the Profile to one or more Users |
 |
allows you to replace the Profile with another Profile (the Users associated to the current Profile will then be associated with the replacement Profile) |
 |
allows you to cancel the Profile |
In the bottom left corner of the table you will see a dropdown list

with which it is possible to perform actions (Delete) for one or more Profiles
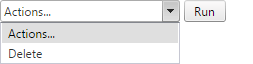
based on those selected in the table using the provided check boxes.
Edit the name of a Profile
To edit the name of an existing Profile, simply click on this icon
found in the list of Profiles. A modal window like the one below will open, indicating the current name of the Profile, and if it is a Default Profile.
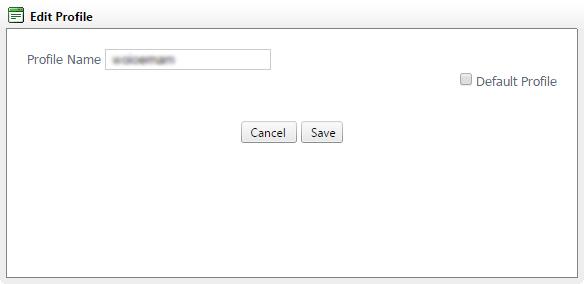
Simply replace the name with the name of your choice and check the "Default Profile" box if you wish, then click on "
Save", and wait for the confirmation.
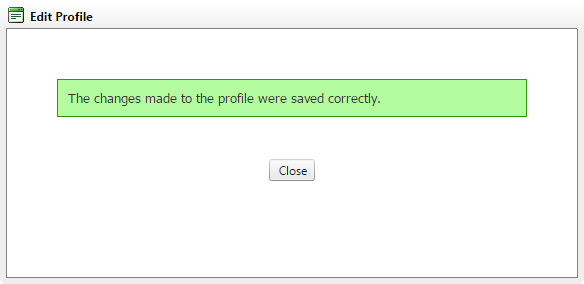
Click on the "Close" button to close the modal window.
Clone a Profile
By using this icon
found in the list of Profiles it is possible to start the cloning process. A modal window like the one below will open where you will need to enter a name to identify the new Profile you are creating and make it, if you wish, a "Default Profile".
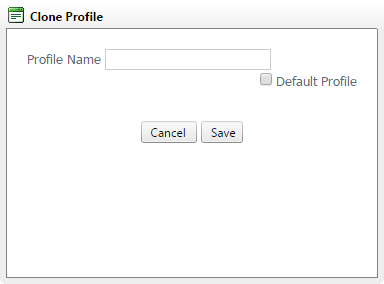
After entering the chosen name and selecting, if you wish, the "Default Profile" option, simply click on the "Save" button, and then wait for the confirmation
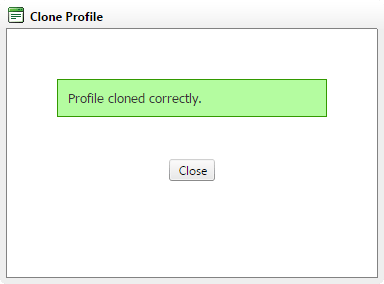
and finally click on "Close". This process is useful should you wish to create a new Profile which differs from an existing Profile only in certain Permissions.