Before you begin to associate the Public IPs make sure you have
purchased all the Public IPs you require. Access from the Control Panel the Server on which you wish to configure the new IP addresses. Scroll down the page up to the "Network Adapters" section and proceed as shown below to assign the new Public IPs:
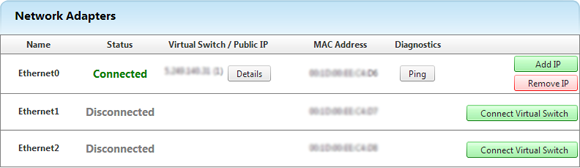
- Click on "Add IP", in relation to the network interface on which you wish to use the Multi-IP service.
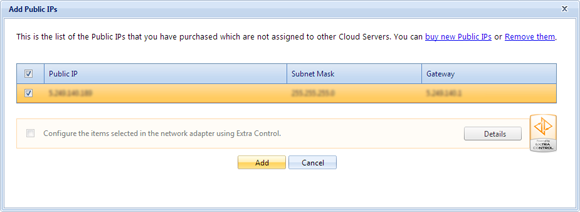
- When the window opens select all of the IPs that you want to add to the network interface, and click on "Add".
- In the "Network Adapter" section you will find the details updated with the new added IPs.
If you need to remove the Public IPs assigned to the network interface, simply click on the "Remove" button and select the IPs you wish to remove.
After assigning (or removing) the new IPs you need to configure them in the network interface within your operating system: